How To Create a SSL Certificate on Apache
In this tutorial I guide how to add Self-Signed SSL to your Apache and to your website. This way you sites works with https. I’m using Ubuntu 12.04 LTS.
Install Apache
First you need to have Apache installed and site created. Here you can find instructions to that:
https://soivi.net/2014/how-to-install-lamp/
Enable the SSL module and create a Self-Signed SSL Certificate
Enable SLL module
$ sudo a2enmod sslCreate folder where you add certificates
$ sudo mkdir /etc/apache2/sslCreate certificates
$ sudo openssl req -x509 -nodes -days 365 -newkey rsa:2048 -keyout /etc/apache2/ssl/apache.key -out /etc/apache2/ssl/apache.crtThen you need to add your information. (Important is to add in Common name your REAL address):
Country Name (2 letter code) [AU]:FI
State or Province Name (full name) [Some-State]:Uusimaa
Locality Name (eg, city) []:Helsinki
Organization Name (eg, company) [Internet Widgits Pty Ltd]:
Organizational Unit Name (eg, section) []:
Common Name (e.g. server FQDN or YOUR name) []:*site.net
Email Address []:your@email.fi
You can use wild cards in Common Name by adding *. So *site.net concludes hello.site.net and site.net. This way you don’t need to create and add different certificates to different sites.
Activate your website configuration to use Certificate
Edit your site so it uses new certificate
$ sudoedit /etc/apache2/sites-available/site.net

<VirtualHost *:80>
        ServerName site.net
        ServerAlias www.site.net
        Redirect "/" "https://site.net/"
</VirtualHost>
<VirtualHost *:443>
        ServerName site.net
        ServerAlias www.site.net
        DocumentRoot "/home/user/public_html/wordpress/"
        SSLCertificateFile /etc/apache2/ssl/apache.crt
        SSLCertificateKeyFile /etc/apache2/ssl/apache.key
        SSLEngine on
</VirtualHost>
This is for redirection. If you try to open http://site.net you will be redirected to https://site.net
<VirtualHost *:80>
        ServerName site.net
        ServerAlias www.site.net
        Redirect "/" "https://site.net/"
</VirtualHost>
This is what port is https://site.net is listening and the normal configuration what virtualhost needs.
<VirtualHost *:443>
        ServerName site.net
        ServerAlias www.site.net
        DocumentRoot "/home/user/public_html/wordpress/"
Here is the SLL Certificate configurations
        SSLCertificateFile /etc/apache2/ssl/apache.crt
        SSLCertificateKeyFile /etc/apache2/ssl/apache.key
        SSLEngine on
</VirtualHost>
Restart your Apache to update new configurations.
$ sudo service apache2 restartUsing many https sites
If you use many https sites you get this kinda notice when you restart Apache:
[warn] _default_ VirtualHost overlap on port 443, the first has precedenceYou can get this warning off with adding this line to ports.conf
$ sudoedit /etc/apache2/ports.conf

NameVirtualHost *:443
Now ports.conf looks something like this:
NameVirtualHost *:80
Listen 80

<IfModule mod_ssl.c>
    NameVirtualHost *:443
    Listen 443
</IfModule>

<IfModule mod_gnutls.c>
    Listen 443
</IfModule>
Restart service and now warning should be away.
$ sudo service apache2 restartTesting site
Go to your site.net. It should redirect you to https://site.net.
Then you get warning like this:
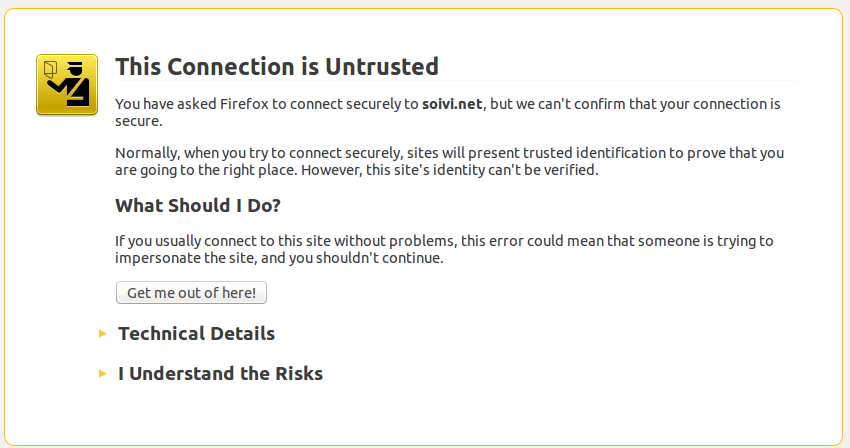
This warning comes because you use Self-Signed SSL Certificate. That means browser can’t confirm your certificate and there for can’t trust your certificate. You get this off by purchasing trusted certificate.
Getting to your site using Firefox:
Click I Understand the Risks - Add Exception - Confirm Security Expetion.
Now your site.net should be opening and using your Self-Signed SSL Certificate.
On url you can see icon of the lock and that means you are using https.